Making Vanilla Extract
How fun would it be to make vanilla extract and gift it to your friends and family?
It makes a great gift, especially for the baker in your life. Even a coffee lover who likes to add vanilla to their drinks!
The first step is to gather your ingredients:
Vanilla Beans (I used Grade A Organic Madagascar Vanilla Beans)
Alcohol (Vodka and Bourbon are the most common)
Bottle (4 oz is a great size for gifts)
Measuring Cup
Mini Funnel
Knife and Cutting board

The bottles I used are 4 oz. To make a 4 oz bottle, you will need to cut two vanilla beans. Split them down the middle and then in half to fit inside of the bottle.


After you have cut the vanilla beans and added them to the jar, measure 1/2 cup of the alcohol of your choice.
It’s best not to pick the cheapest brand, but you definitely don’t need the most expensive. I picked Bulleit for Bourbon and Ketel One for Vodka.

Add the alcohol to the jar and seal.
Please the jar or jars in a cool, dry location. Let them sit for about a month. After that, shake them occasionally. It is recommended to wait 6 months to a year before use.
I made mine back in May and they aren’t ready as of January. I highly recommend making it a minimum of 9 months before use.
The longer they sit, the better they get! You can add more alcohol after you have finished your bottle and reuse the beans a few times.
Our Vanilla Extract is now available in our shop!

Sourdough Discard Pizza Dough
One of our family favorites is pizza. I’m sure we aren’t alone. It has become an easy go to or last minute dinner because of this sourdough discard pizza dough.
What You’ll Need:
12” Cast Iron Skillet
Olive Oil
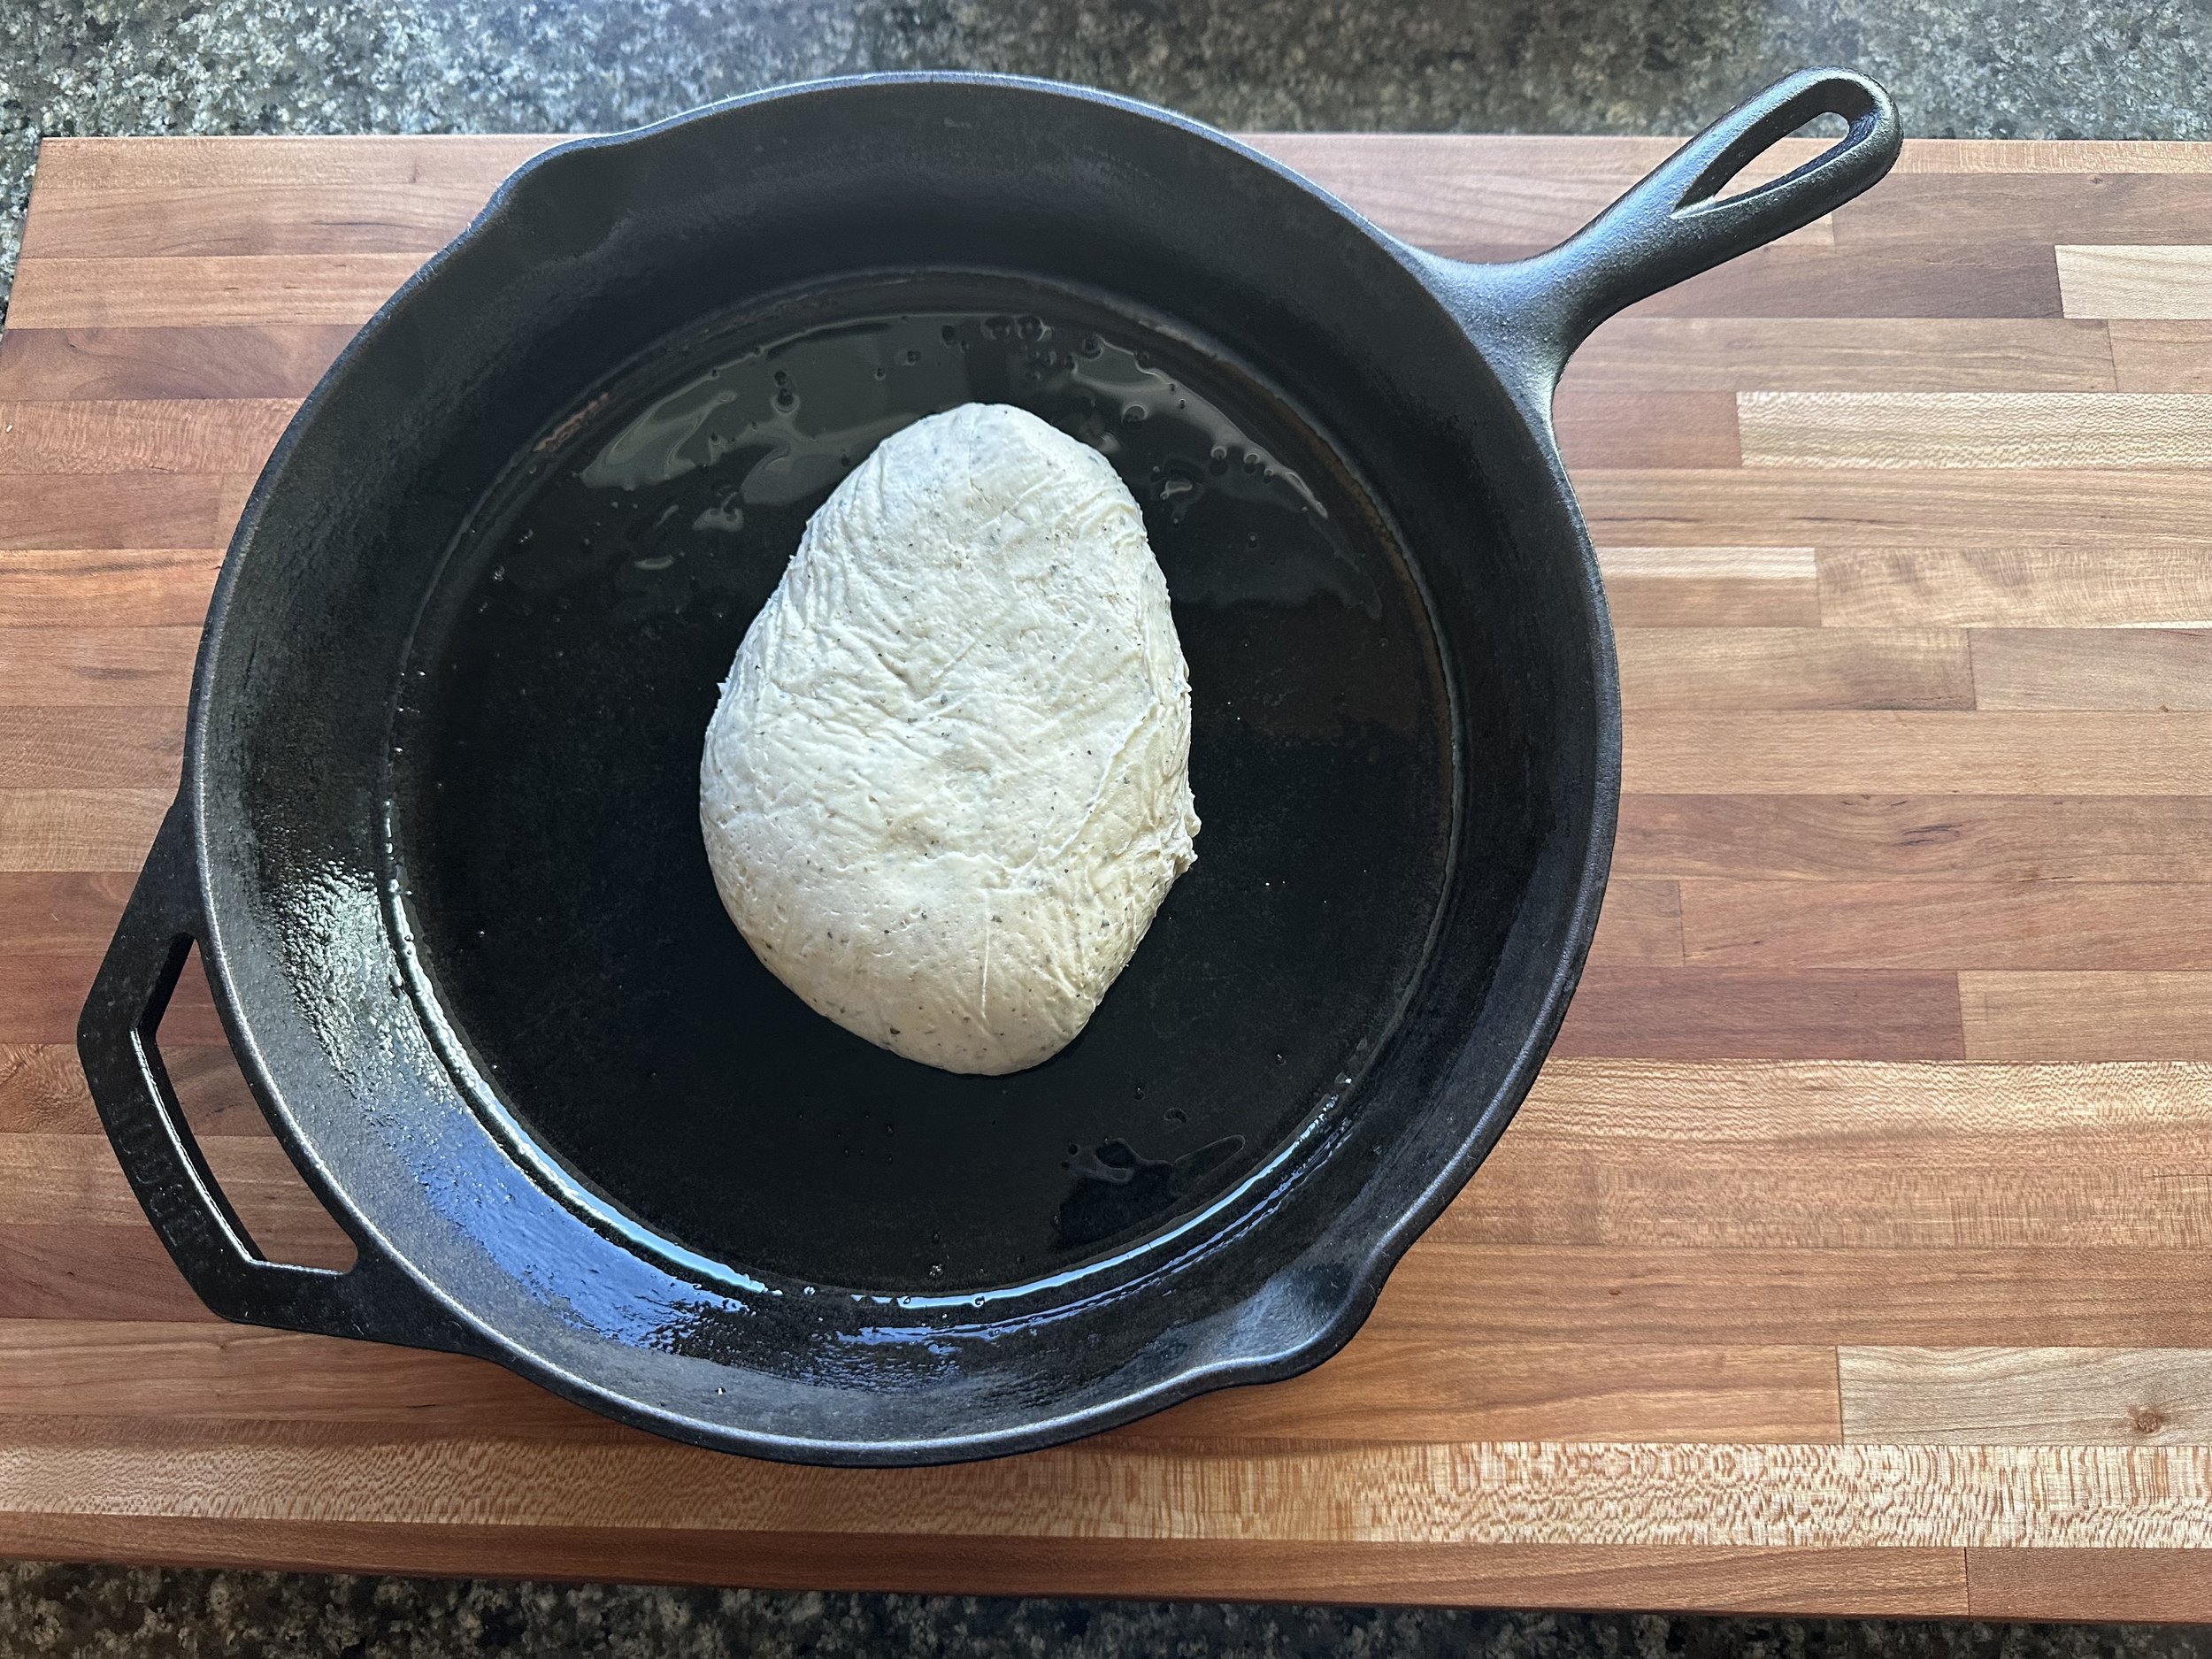
Herb Soughdough Discard Pizza Dough

Once you have your sauce mixed together and your toppings ready to add, the pizza dough should have warmed up enough to press around the pan. If it’s still cool, it will contract back together, so keep pressing until you have it all around the pan.
Now take your sauce, add however much you’d like and then your toppings.
Our kids really enjoy pepperoni and pineapple, but on this night I added some leftover ground beef. It was delicious!

Preheat your oven to 425. Take the pizza dough out of the bag and place it in the oiled pan. Be sure to take the pizza dough out of the bag while it is still cool, otherwise it may stick to the bag.
While the dough is coming up to room temp, start working on your pizza sauce. We are pretty simple here. I like having Costco’s canned tomato sauce on hand. I’m able to transform it into whatever I like! I add minced garlic, Italian seasoning, onion powder (If I have some diced, I used that) and King Arthur’s Pizza Seasoning. It has a kick, so when I make it for the kids, I don’t add too much.

Bake at 425 for 20-30 minutes depending on how you like your cheese.
Let stand in the pan for 10 minutes before using a spatula to take it out and place on a cutting board.
Slice and enjoy!
Our Herb Sourdough Discard Pizza Dough is available to local customers for $5. It will make one 12” pizza. It will come refrigerated or frozen depending on availability. You may freeze it after purchase for later use.
It will need at least two hours to defrost before baking.
Please feel free to email us with any questions you may have!
How to Rehydrate Dehydrated Sourdough Starter!
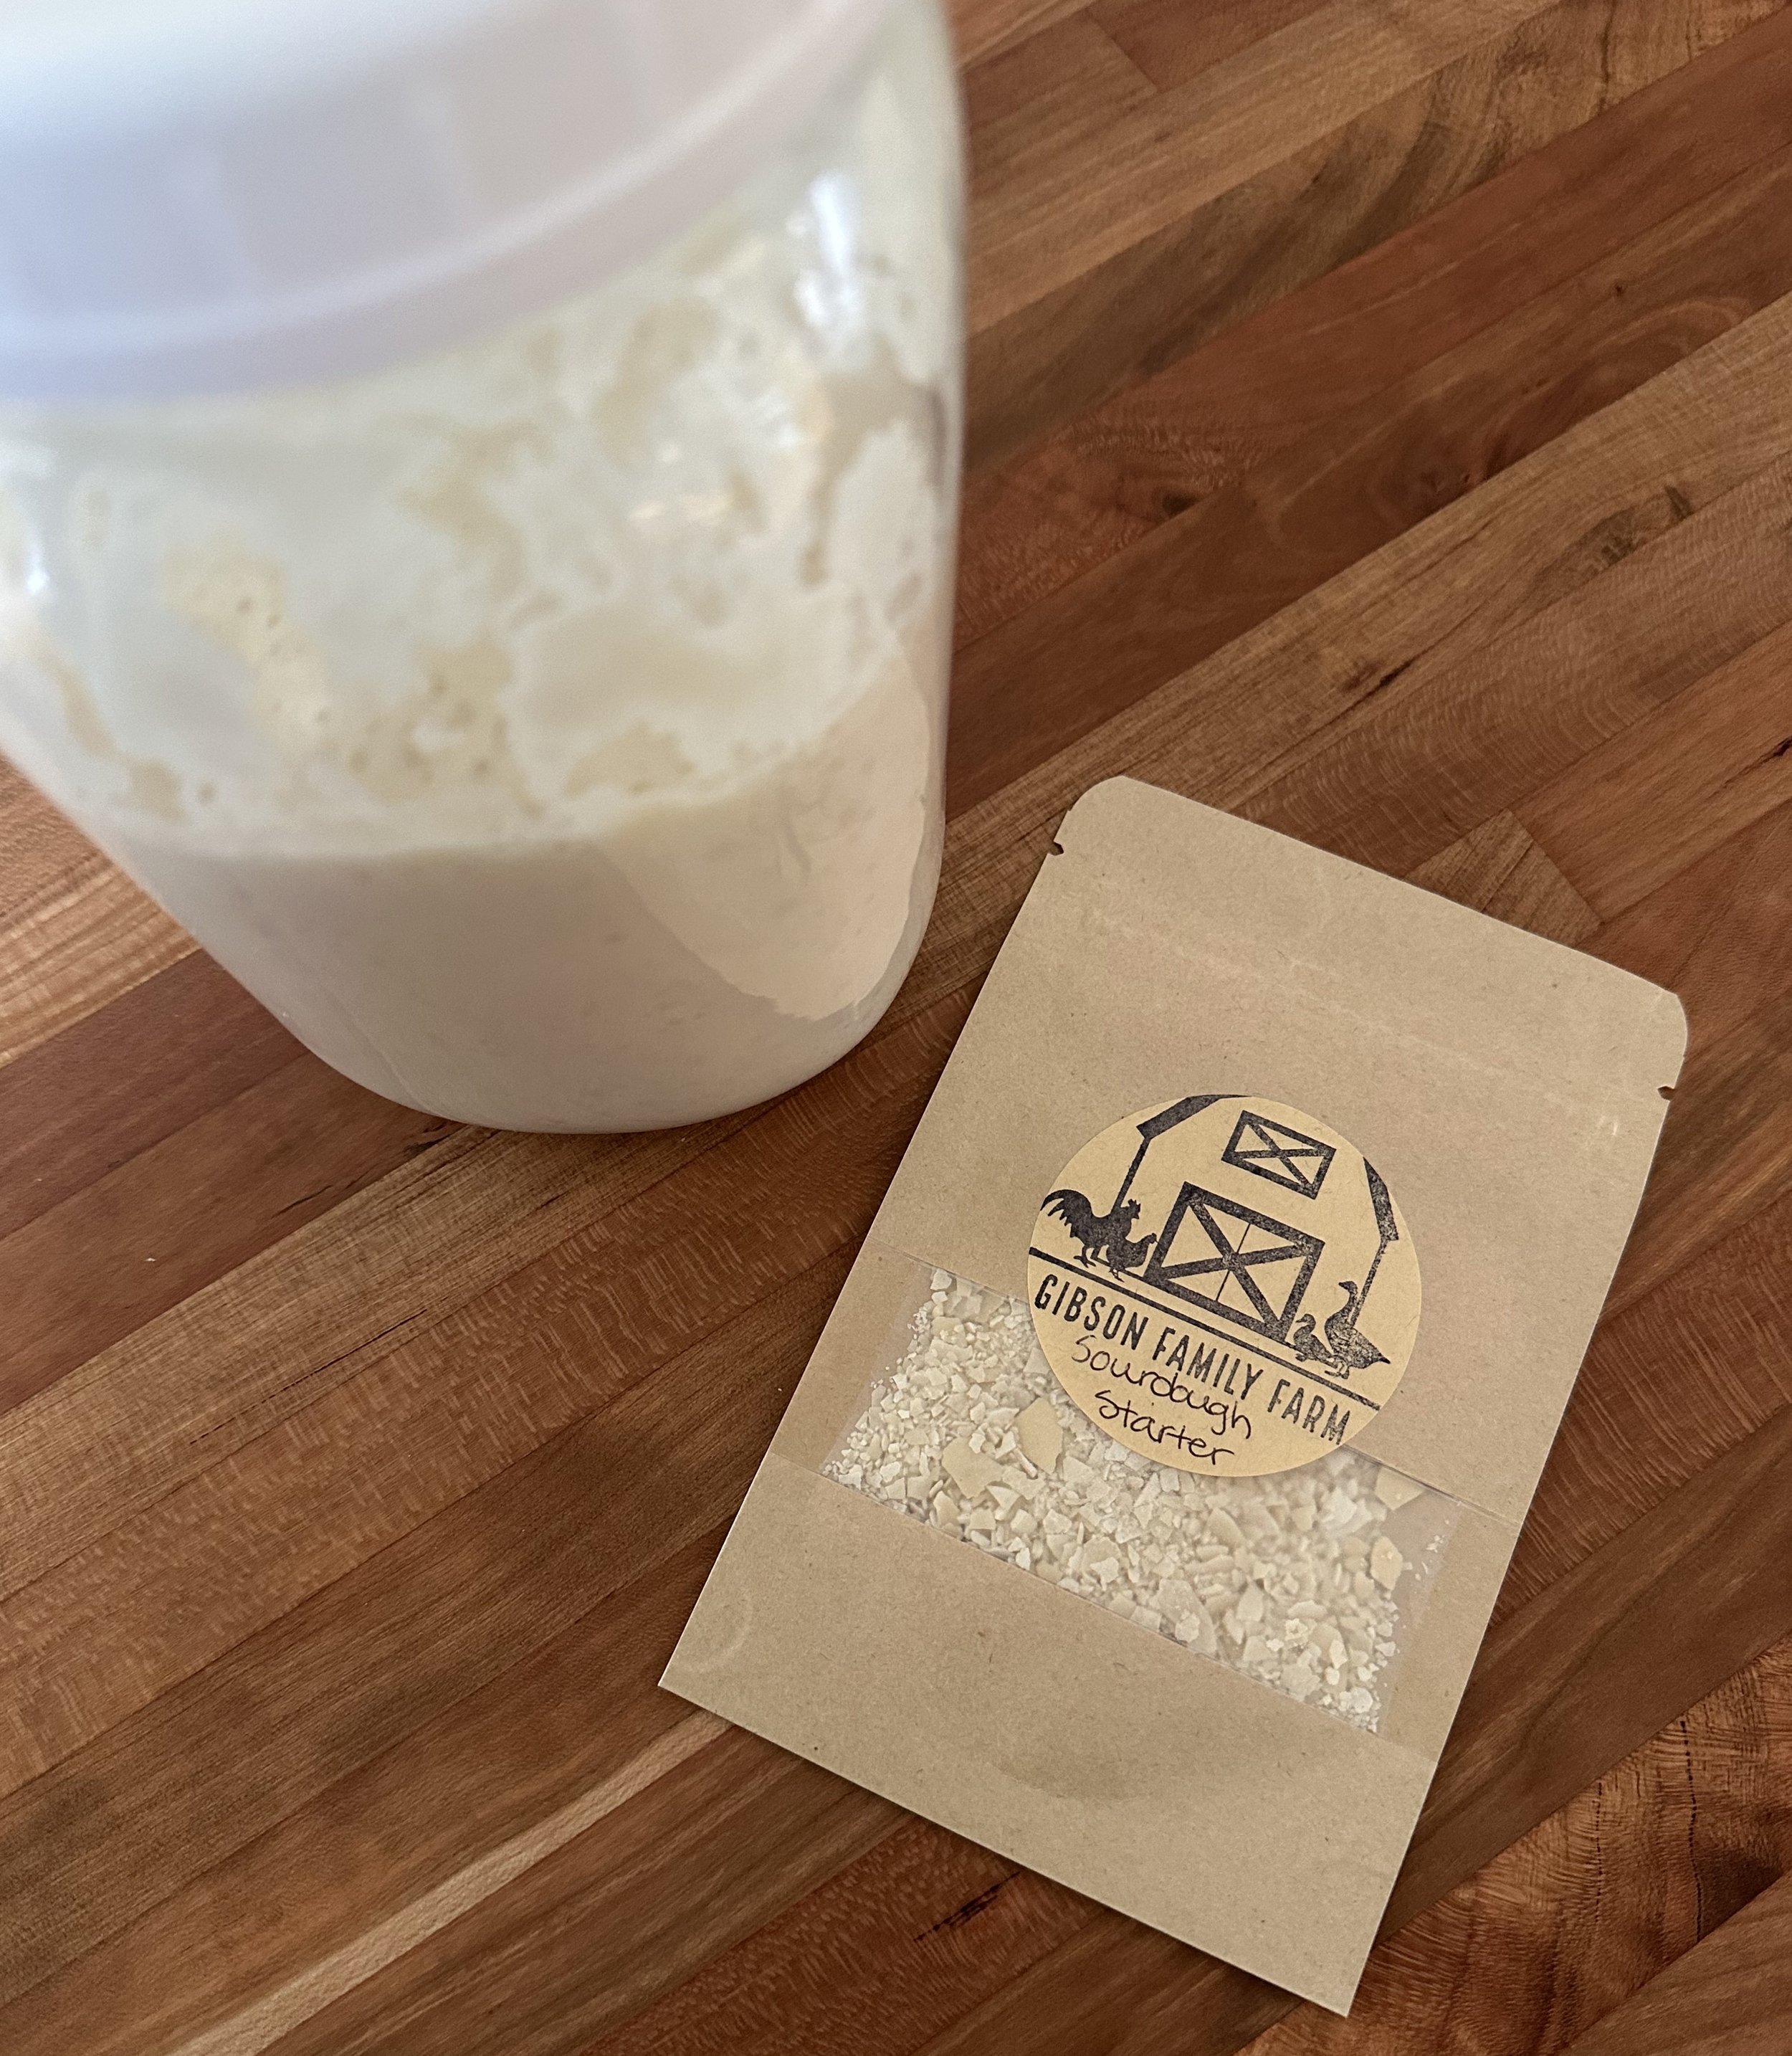
Recently I began making and selling dehydrated starter. You may be asking “What’s the purpose of dehydrating your sourdough starter?”
Dehydrating sourdough starter allows you to store it forever. You can pack it away in an airtight bag or even freeze it. It can be used as a safety net if something happens to your starter or to mail to a friend.
Everyone has an attachment to their starter. We created ours a couple years back and after a couple mishaps we finally had it. It takes time and dedication to maintain a starter—but starting one from scratch is the biggest challenge. There’s a great sense of pride that someone feels when creating starter as well as sourdough bread.
I decided I wanted to share that pride with others and give them a little piece of our kitchen through our dehydrated sourdough starter. We also sell active starter locally, but dehydrated can be taken anywhere. By day 6, you’ll be able to bake your first loaf. Check out our directions below:
Each of our packets contains 10g of dehydrated starter. This instructions call for 5g, so you will have leftover to keep or pass on to a friend.
MATERIALS
Mason Jars (16oz & 32oz)
Food Scale
Water
Flour

DAY 1
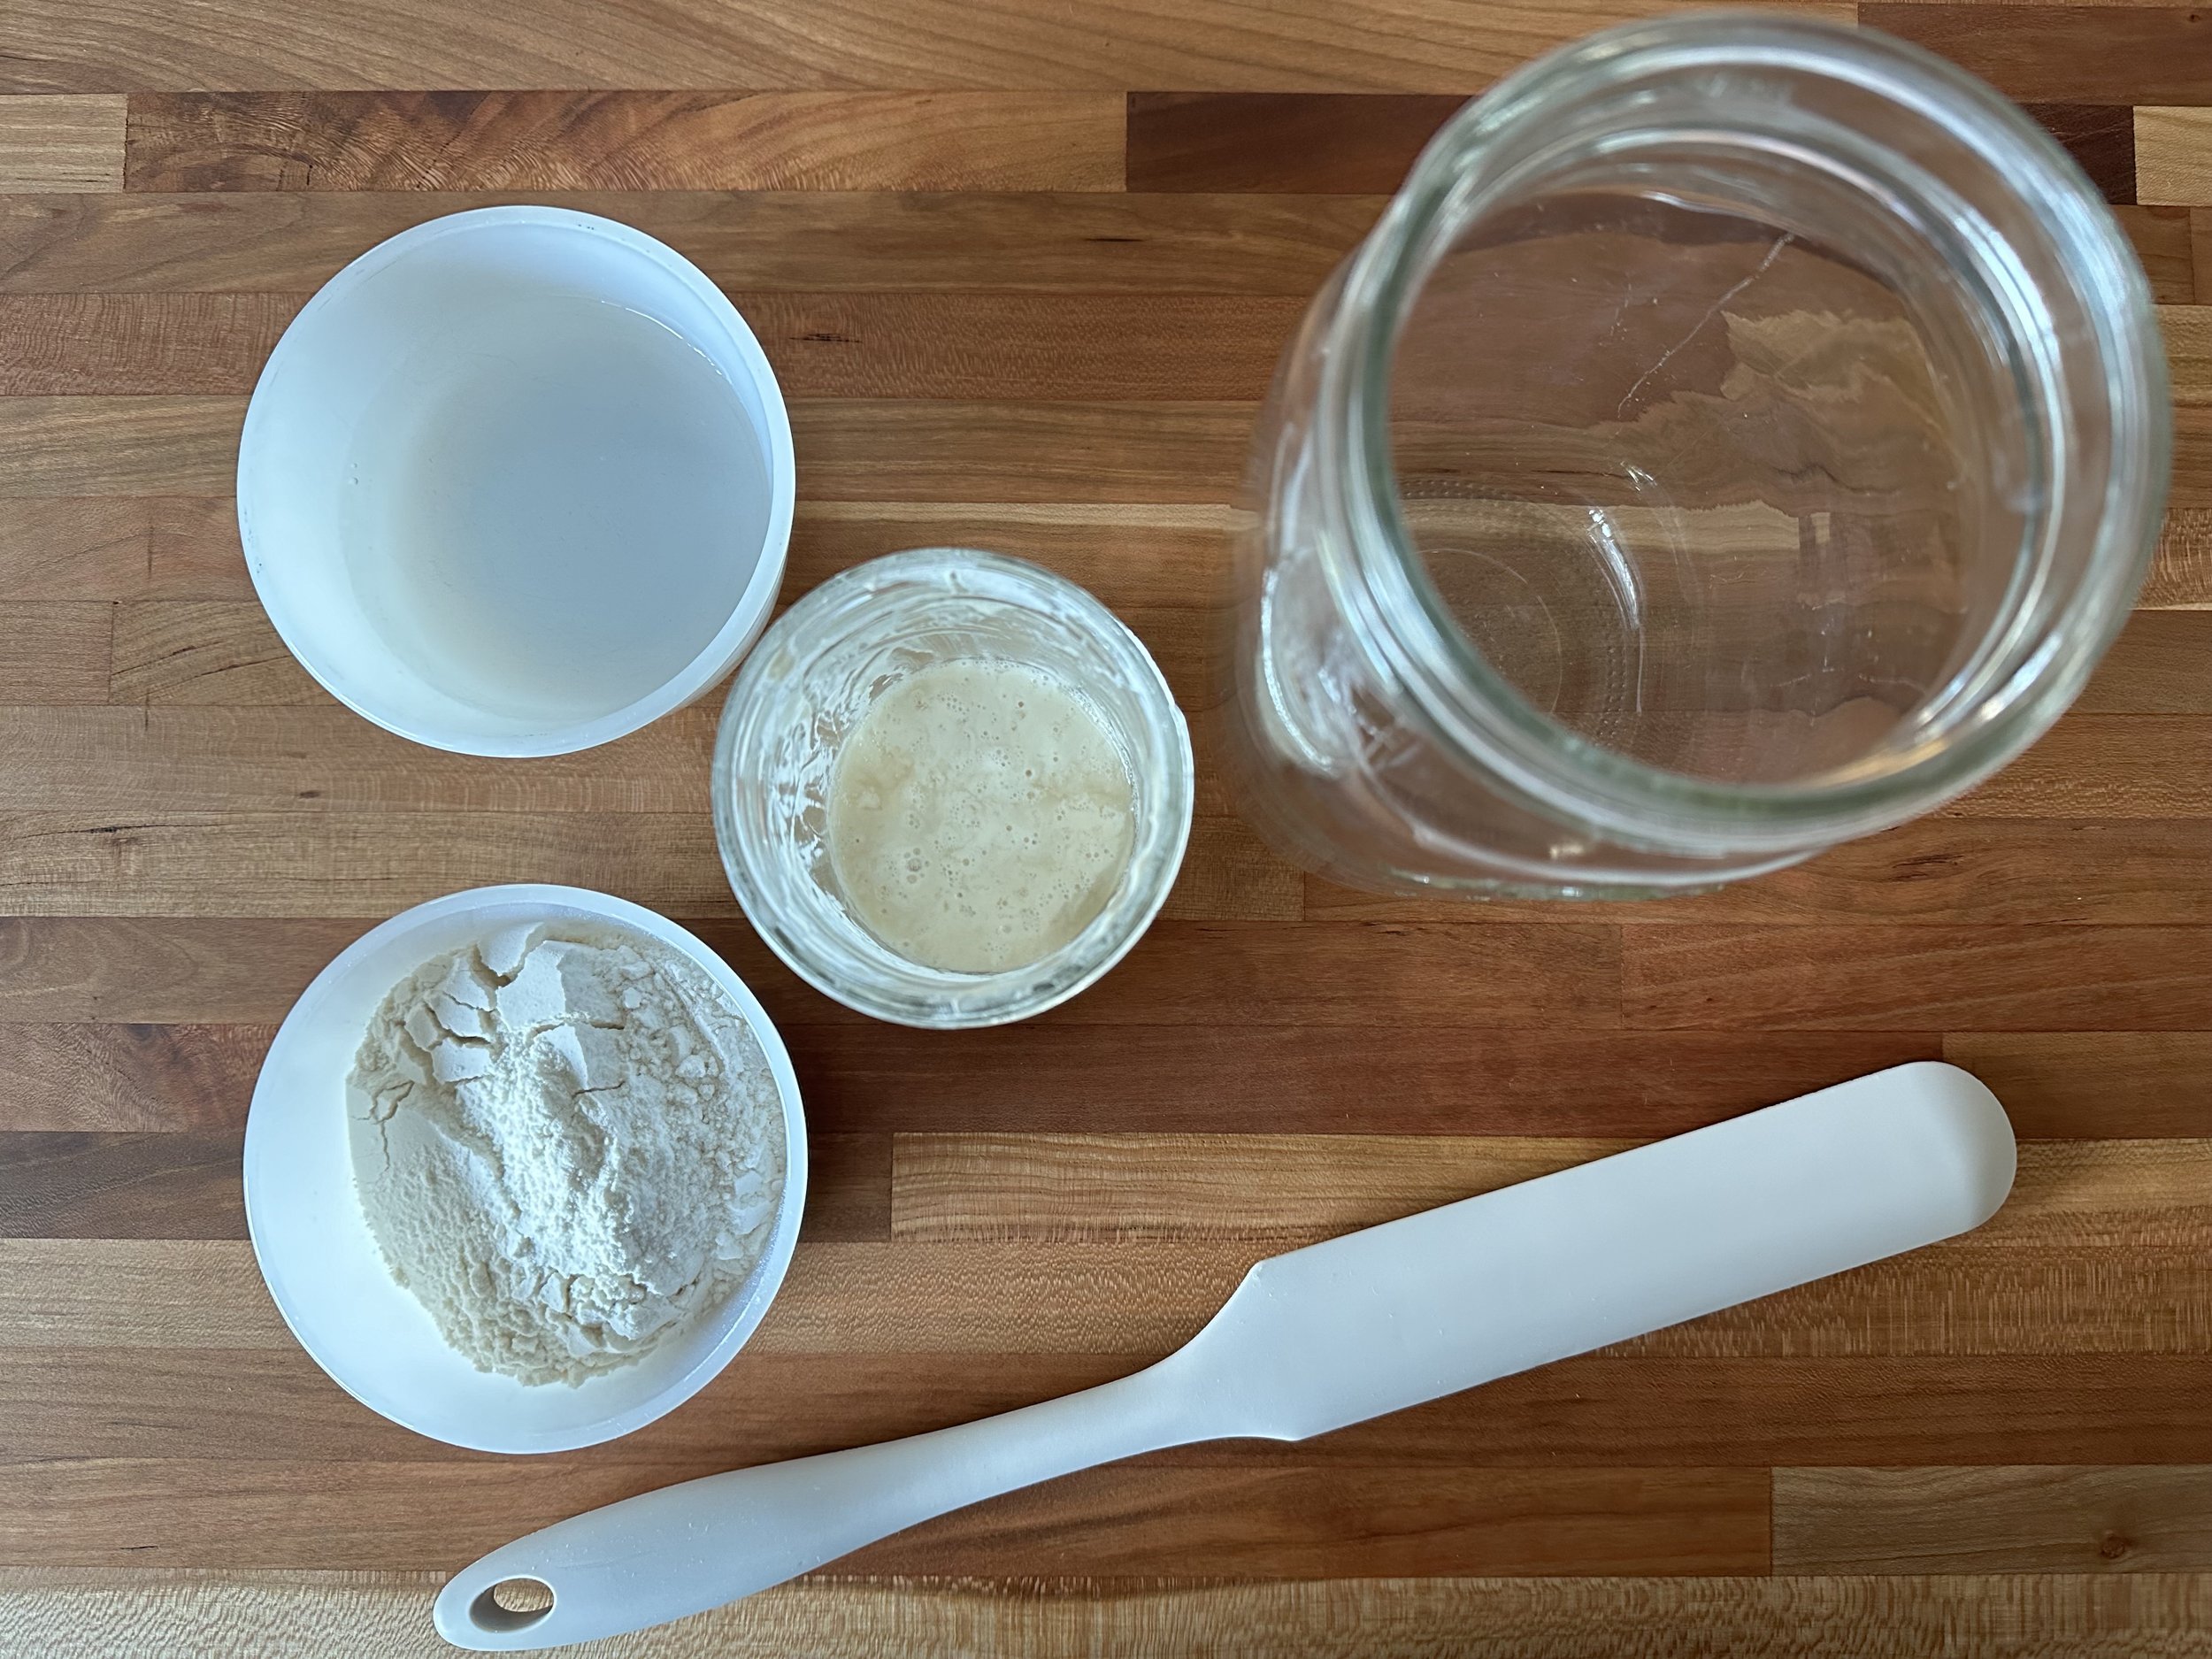
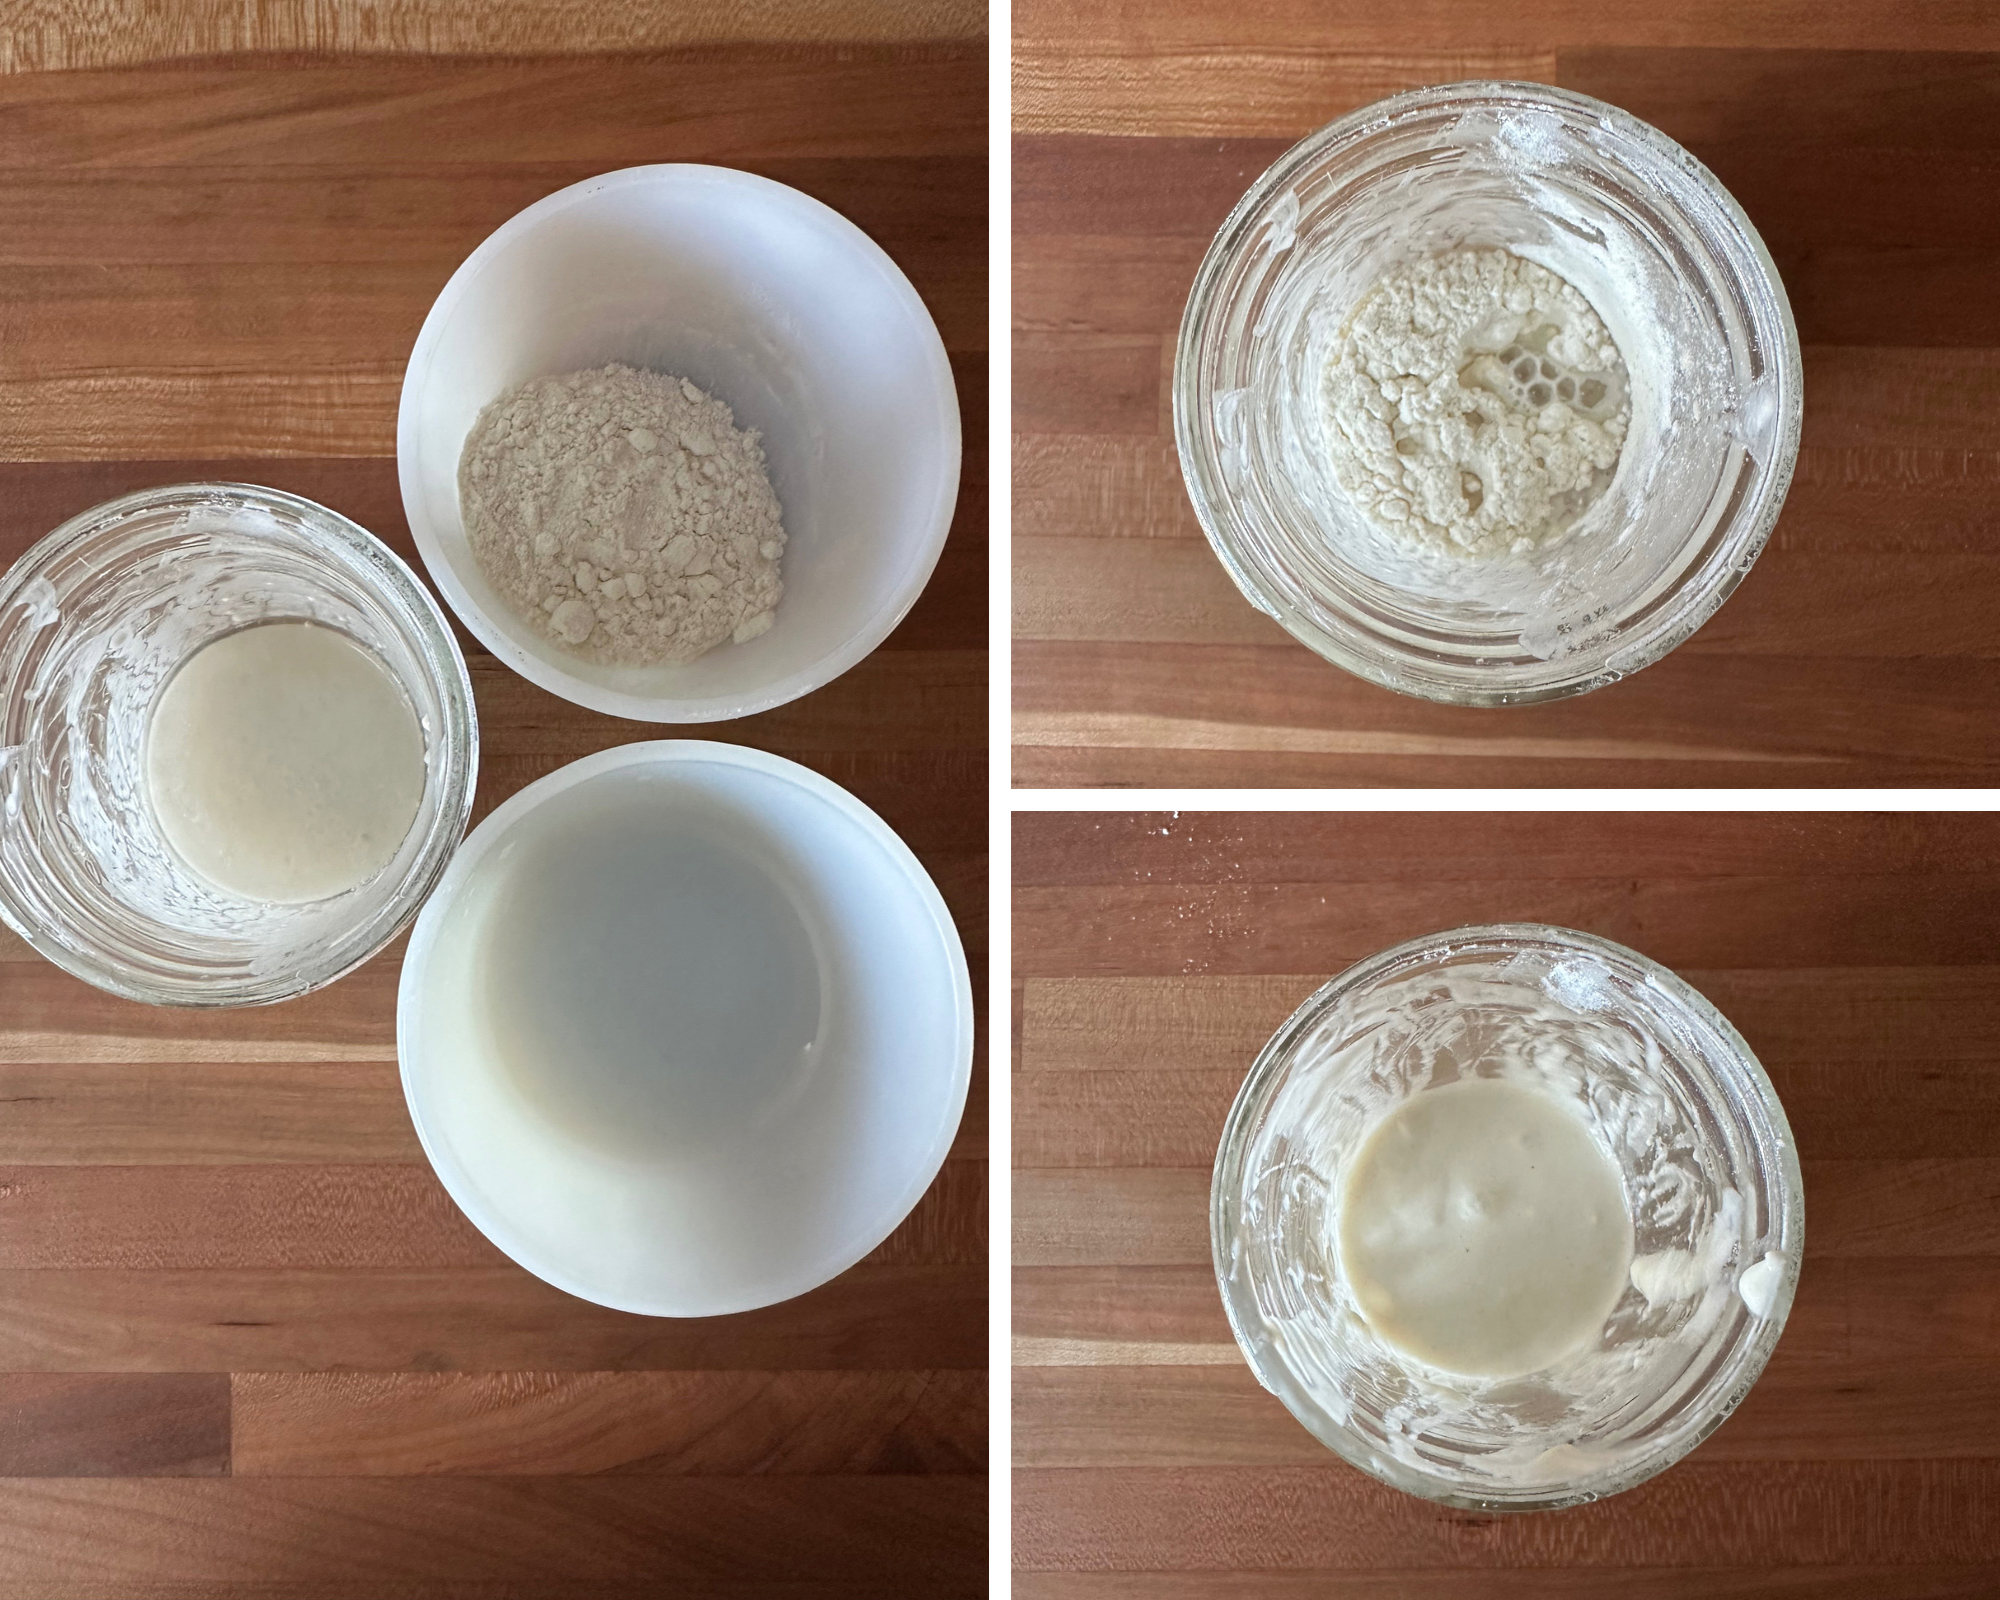
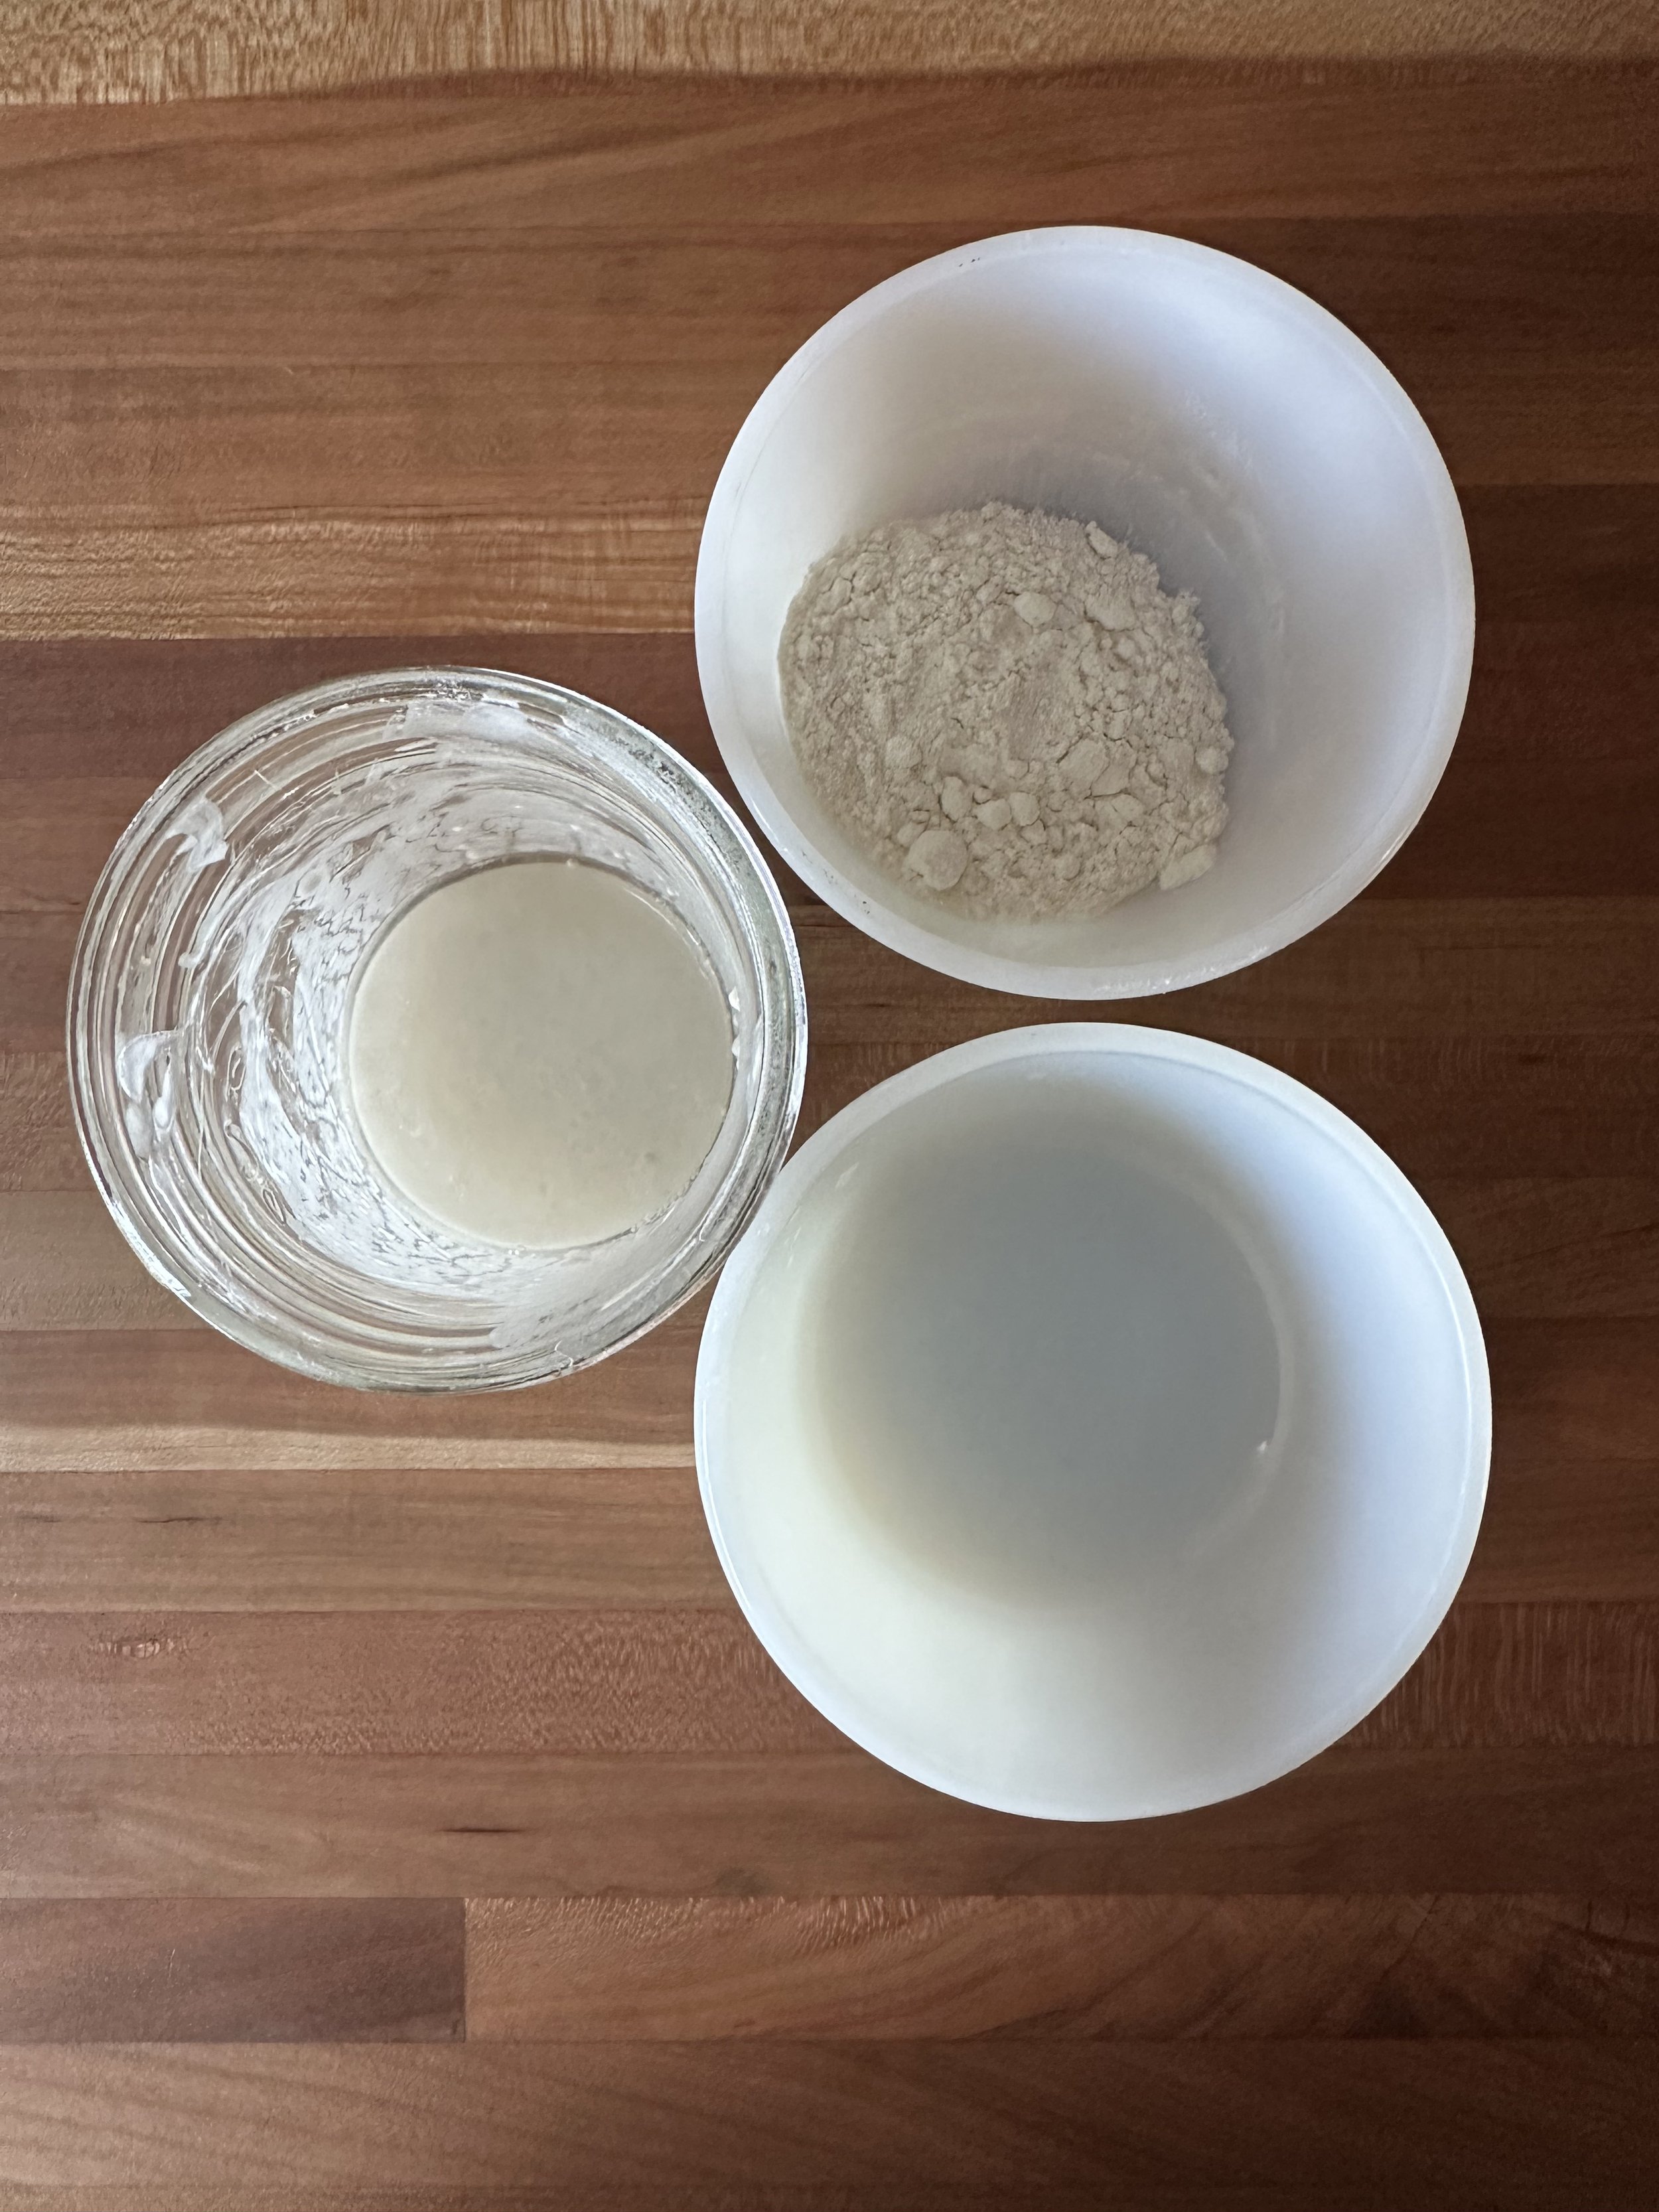
I recommend using a small bowl to help measure the ingredients before adding them to your mason jar.
Add 5g of dehydrated starter with 22g of water in a mason jar. Mix until combined. You may need to let it sit for a few minutes to allow the starter to hydrate.
Add 8g of flour, mix until well combined.
Cover and set aside on your countertop.
DAY 2
Add 8g water and 8g flour to your starter. Mix until well combined. Cover and set aside on your countertop.
DAY 3
Repeat day 2.

DAY 4
Upgrade to a larger 32oz mason jar.
Add 80g water and 80g flour to your starter. Mix until well combined. Cover and set aside on your countertop.
DAY 5
Your starter should be doubled in size and be bubbly and active.
Add 120g water and 120g flour. Mix until well combined. Cover and set aside on your countertop.
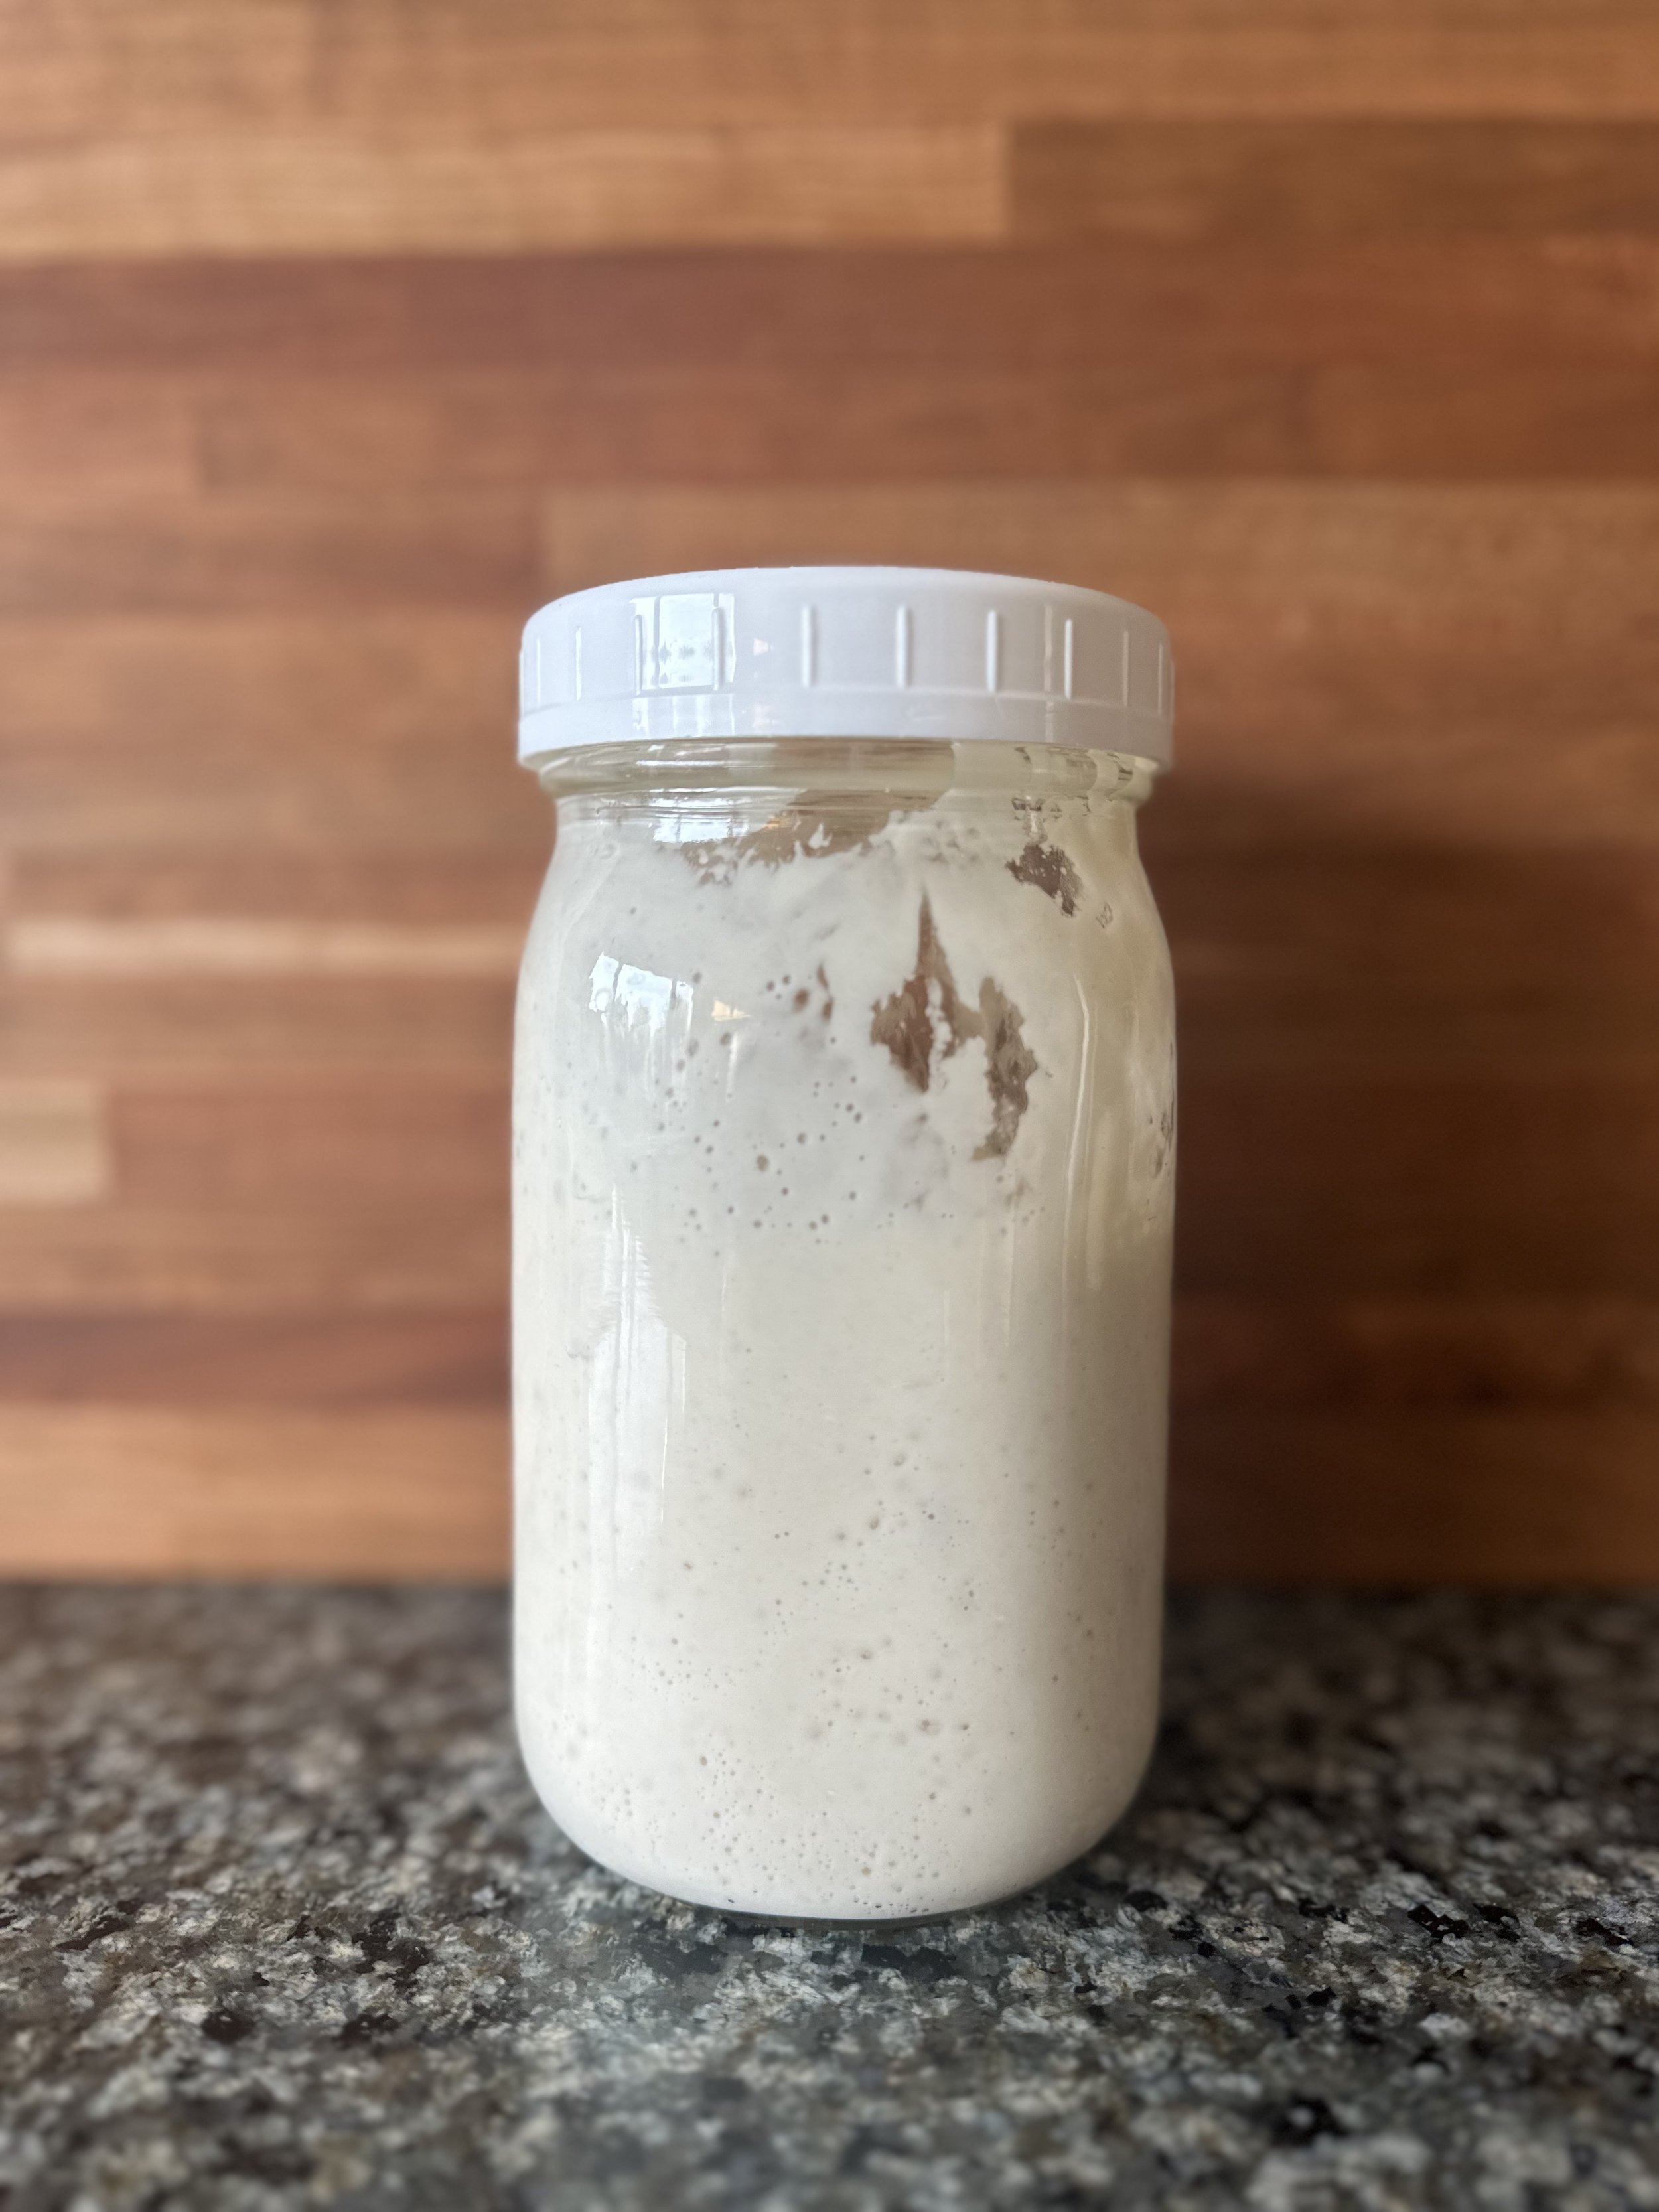
DAY 6
Your starter should have doubled again and be bubbly and active. Time to start your first sourdough!
Be sure to feed your sourdough regularly and put in the refrigerator when not in use.
Feed 1:1:1 ratio.
We hope this blog entry helped you with your dehydrated starter. Please feel free to email or message us with any questions or if you need help along the way. Happy baking!
-Katie
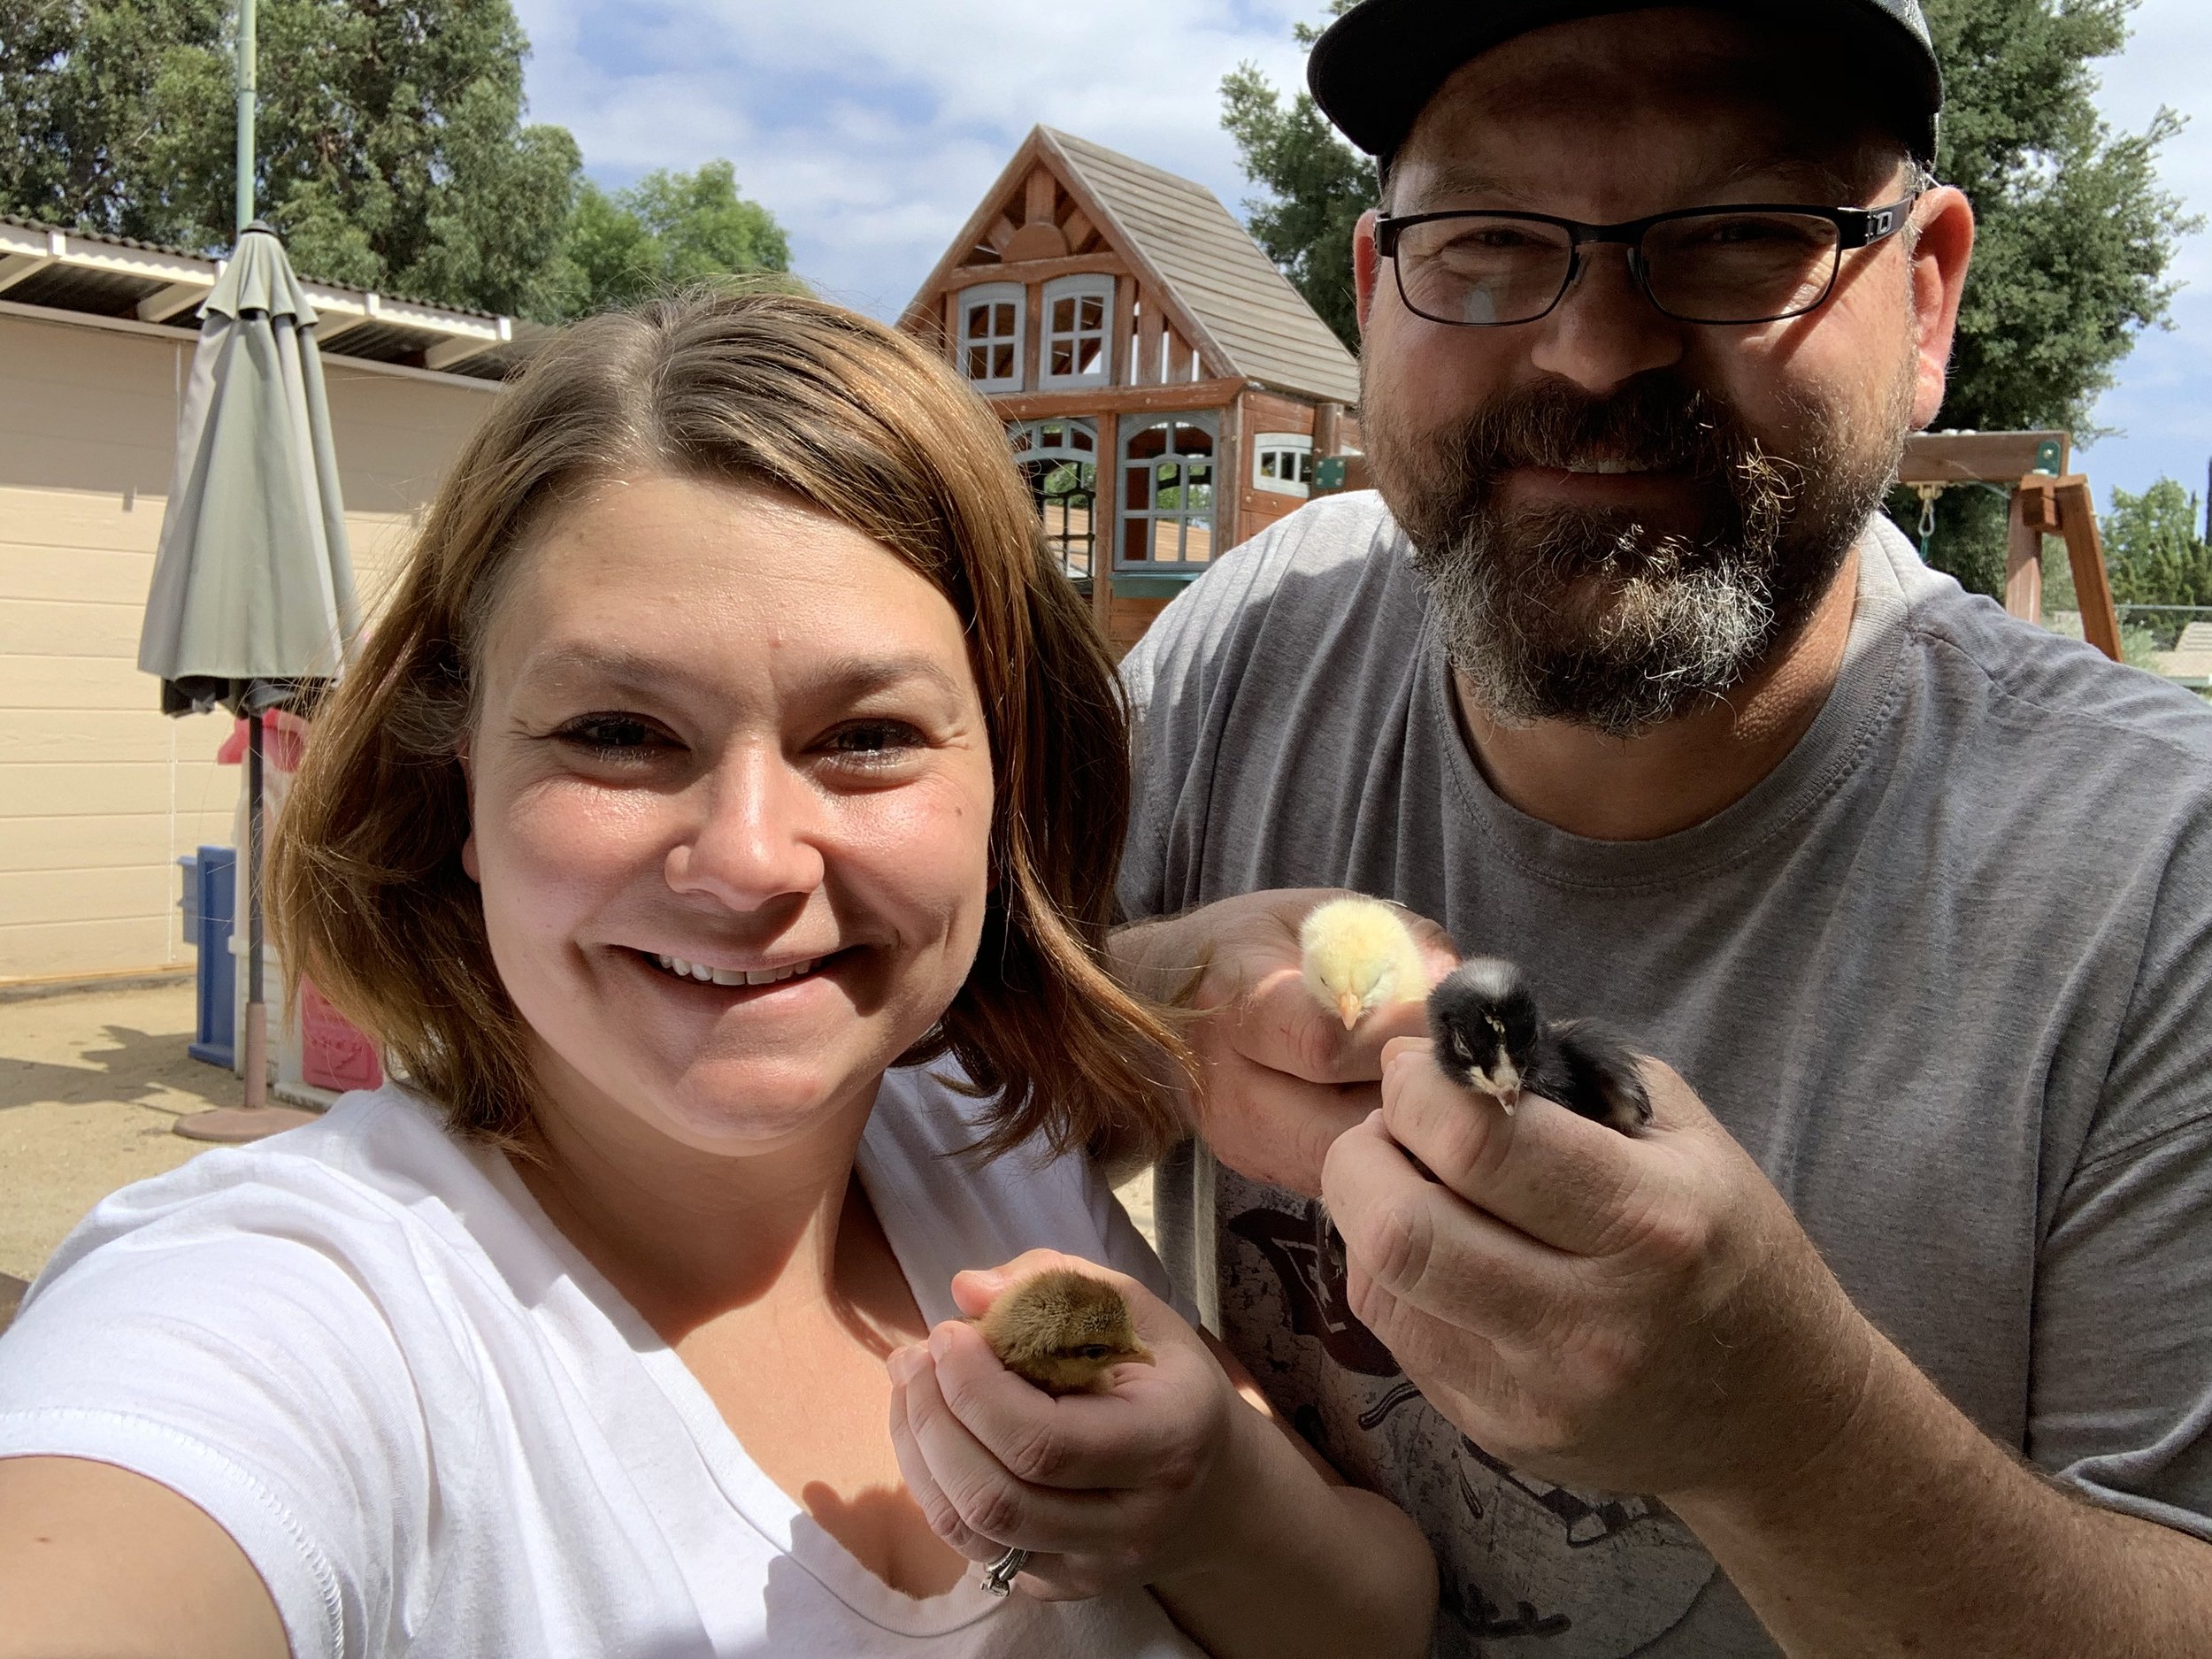
About Me…
Hi! My name is Katie. You could probably call me the face of Gibson Family Farm. I’ll be the one answering your emails and filling orders.
I grew up not far from where we currently reside. I spent my younger years traveling with my grandparents and just wishing I was an adult already. I always knew I wanted to be a wife, mother and homemaker. It was my biggest desire in life and is what I’m most proud of accomplishing!
My husband and I met while working in grocery retail. While dating, we discussed raising chickens, having a garden and more. Most of that was put aside until we had kids. Right before our youngest turned two, we decided we were ready to start raising chickens.
It’s been an amazing journey that has been the foundation of all we do today and continue to build into our life.
We would love for you to come along on this journey with us while we navigate homesteading, building a bigger garden and overall learning more ways to be self sufficient.
Thank you for your support and coming along on this journey with us!
-Katie